
Dreaming of a backyard oasis shielded from prying eyes? Building your own cedar privacy fence can be a rewarding DIY project that adds value and security to your Dallas Fort Worth home. While challenging, with careful planning and execution, you can achieve professional-looking results. Here’s a step-by-step guide to get you started:
Step 1: Planning and Preparation
Before you even pick up a shovel, meticulous planning is crucial. This includes:
- Check Local Regulations: Contact your city or HOA to understand any fence height restrictions, permit requirements, or setback regulations.
- Property Line Confirmation: Accurately identify and mark your property lines to avoid disputes with neighbors.
- Material Calculation: Determine the length of your fence and the spacing between posts. This will help you calculate the amount of cedar lumber, posts, concrete, and hardware you’ll need. DFW-Fence.com can help you with material estimation!
- Gather Your Tools: You’ll need a post hole digger, level, measuring tape, saw, drill, hammer, concrete mixer (optional), safety glasses, and work gloves.
Step 2: Setting the Posts
The foundation of your fence is the posts. Proper post installation is essential for a sturdy and long-lasting fence.
- Dig Post Holes: Dig holes deep enough to bury about 1/3 of the post length. Ensure the diameter is wide enough to accommodate concrete.
- Set the Posts: Place the posts in the holes and use a level to ensure they are plumb (perfectly vertical).
- Pour Concrete: Mix concrete according to the manufacturer’s instructions and pour it around the posts. Use a level to make final adjustments to the post alignment before the concrete sets.
- Allow Concrete to Cure: Let the concrete cure for at least 24-48 hours before proceeding.
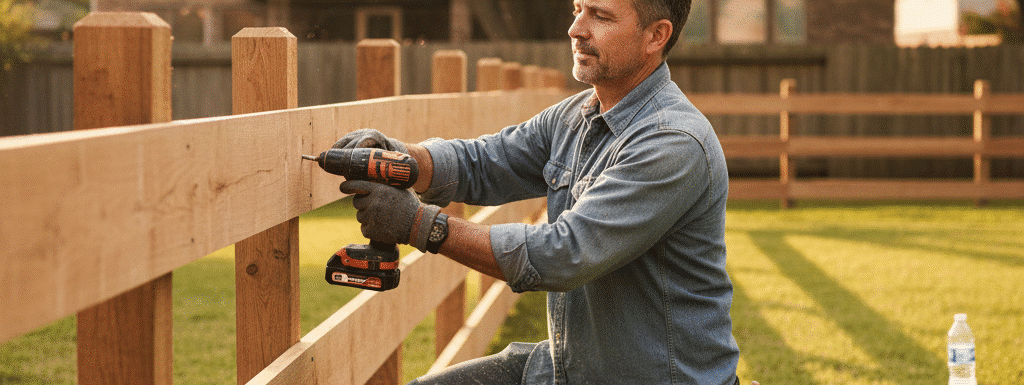
Step 3: Installing the Rails
Rails provide horizontal support for the fence pickets.
- Attach Rails to Posts: Use screws or nails to attach the rails to the posts. Ensure the rails are level and evenly spaced. Typically, a three-rail system is used for a standard privacy fence.
Step 4: Attaching the Pickets
This is where your fence truly takes shape.
- Attach Pickets to Rails: Start at one end and attach the cedar pickets to the rails using screws or nails. Maintain a consistent spacing between the pickets.
- Trim Pickets: Once all the pickets are attached, trim the tops to create a uniform height.
Step 5: Finishing Touches
Complete the look with some finishing touches.
- Add a Cap Rail (Optional): A cap rail adds a finished look and protects the top of the pickets.
- Stain or Seal: Apply a stain or sealant to protect the cedar from the elements and enhance its natural beauty.
Building a cedar privacy fence is a significant undertaking. If you’re feeling overwhelmed or prefer professional installation, Get a Free Fence Quote from Trusted Contractors in the DFW area! We’re here to help.